Building a gaming computer on a budget doesn’t mean you have to compromise performance. With careful planning and smart shopping, you can assemble a powerful rig without breaking the bank. This guide will walk you through the process of selecting components, assembling your computer, and optimizing it for gaming.
1. Planning Your Build
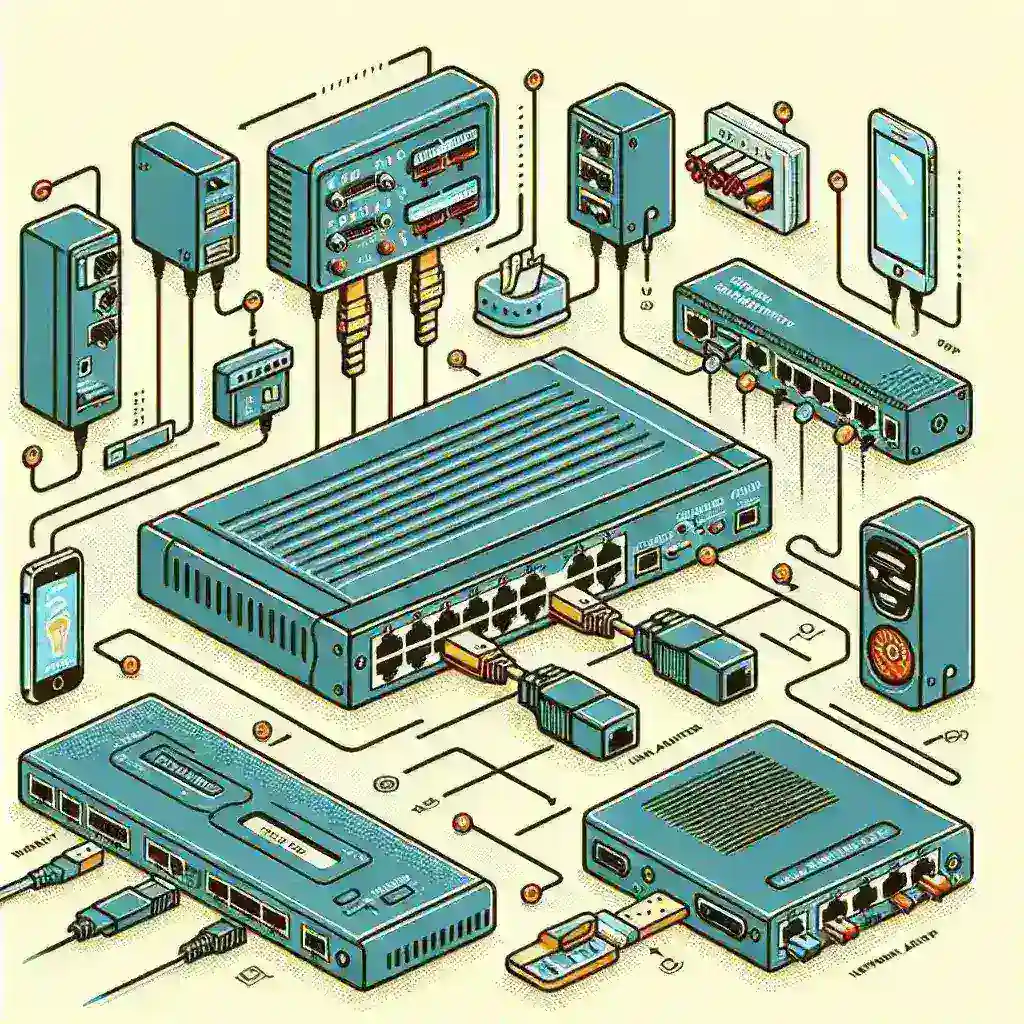
Before purchasing any components, it’s critical to establish a budget and understand what you want from your gaming PC. Here is a simple table summarizing the key components you will need:
| Component | Average Price Range |
|---|---|
| CPU | $100 – $200 |
| GPU | $150 – $300 |
| RAM | $50 – $100 |
| Motherboard | $50 – $150 |
| Storage (SSD/HDD) | $50 – $100 |
| Power Supply (PSU) | $30 – $70 |
| Case | $30 – $70 |
| Cooling System | $20 – $50 |
These prices are averages and can vary depending on sales, discounts, and the specific models you choose. Let’s break down each component to help you make the best choices.
2. Choosing Your Components
CPU (Central Processing Unit)
Your CPU is the brain of your computer. For a budget gaming build, consider processors like the AMD Ryzen 5 3600 or the Intel Core i5-10400F. Both offer excellent performance for their price.
GPU (Graphics Processing Unit)
The GPU is the heart of any gaming PC. Affordable options include the NVIDIA GTX 1660 Super and the AMD Radeon RX 580. They provide great performance for 1080p gaming.
RAM (Random Access Memory)
Mediocre RAM can bottleneck your performance. Aim for at least 8GB of DDR4 RAM, though 16GB is preferable for a smoother experience.
Motherboard
Your motherboard needs to be compatible with your CPU and other components. A budget-friendly option like the MSI B450M Pro-M2 Max will suit a Ryzen build well.
Storage
Balance speed and capacity with a mix of SSD and HDD. A 240GB SSD for your OS and frequently played games, combined with a 1TB HDD for storage, is a cost-effective option.
Power Supply Unit (PSU)
A cheap or unreliable PSU can jeopardize your whole build. Opt for a reliable 500-600W PSU from brands like Corsair or EVGA.
Case
A basic mid-tower case should be adequate. Look for one with good airflow and sufficient space for your components.
Cooling System
Stock coolers that come with many CPUs can be sufficient, but aftermarket coolers like the Cooler Master Hyper 212 are affordable and improve cooling.
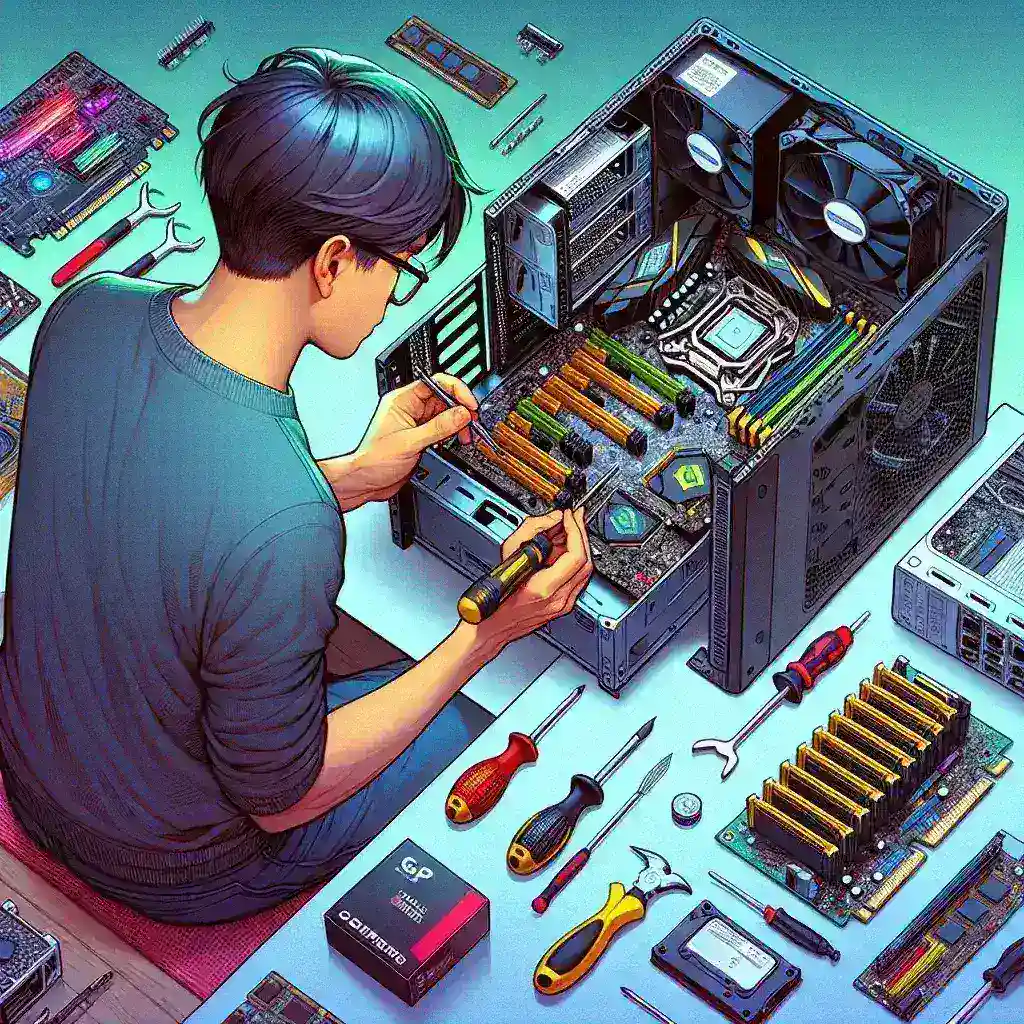
3. Assembling Your Gaming Computer
Once you have all your components, it’s time to put them together.
Step 1: Prepare Your Workspace
- Find a flat, well-lit surface.
- Gather all your tools, including a screwdriver.
- Ensure you have an anti-static wrist strap to avoid static damage to components.
Step 2: Install the CPU
- Open the CPU socket on the motherboard.
- Carefully place the CPU into the socket, matching the notches to ensure correct alignment.
- Secure the CPU by closing the latch.
Step 3: Attach the CPU Cooler
- If using a stock cooler, simply clip it over the CPU.
- If using an aftermarket cooler, follow the manufacturer’s instructions for installation.
- Open the RAM slots on your motherboard.
- Align the notches on the RAM stick with the slot.
- Press down firmly until the RAM clicks into place.
- Place the motherboard inside the case, aligning it with the standoffs.
- Screw it into place.
- Attach your SSD and/or HDD to their respective bays.
- Connect them to the motherboard using SATA cables.
- Insert the GPU into the appropriate PCIe slot on the motherboard.
- Screw it securely to the case.
- Place the PSU into its designated spot in the case.
- Connect all necessary power cables to the motherboard, GPU, and storage devices.
- Organize and tie up cables to ensure good airflow and a tidy build.
- Create a bootable USB drive with the Windows 10 installation file.
- Boot your new PC from the USB drive.
- Follow on-screen instructions to install Windows.
- Install all drivers from the manufacturer’s website.
- This includes chipset, audio, and network drivers.
- Download the latest drivers from NVIDIA or AMD’s website.
- Install the drivers and restart your PC.
- Install platforms like Steam, Epic Games Store, etc.
- Configure settings to optimize your gaming experience.
- Regularly update drivers and software.
- Optimize in-game settings to balance performance and visuals.
- Utilize tools like MSI Afterburner for GPU monitoring and minor overclocking.
Step 4: Install RAM
Step 5: Install the Motherboard
Step 6: Install the Storage
Step 7: Install the GPU
Step 8: Connect the PSU
Step 9: Cable Management
4. Installing the Operating System
Your gaming PC is assembled, but it’s not quite ready yet. You’ll need to install an operating system. Windows 10 is the most common choice for gaming.
5. Installing Drivers and Essential Software
After installing your OS, you need to install drivers and gaming software.
Step 1: Motherboard Drivers
Step 2: GPU Drivers
Step 3: Gaming Software
6. Performance Optimization
To get the most out of your budget gaming PC, follow these tips:
Conclusion
Building a cheap gaming computer is a rewarding experience that can save you money and provide a customized gaming experience. Follow this guide to ensure you make smart choices and build a rig that suits your needs and budget. Happy gaming!